Method 1. Use Quick Start to Reduce Your Computer’s Boot Time
One way to speed up the Windows 10 startup process is to enable the sleep mode feature, which is disabled by default. Quick start (enabled by default) is another feature that reduces the startup time of the operating system.
You can check whether Quick Start is enabled on your computer by choosing Power> Actions of the power buttons . Click Change settings that are currently unavailable to unlock the shutdown configuration. There you will see the ability to enable or disable the quick launch function.
Method 2. Use ReadyBoost to Boost Windows 10 Performance
ReadyBoost is a Windows feature that can increase the speed of your system by using free space, the so-called caching. You can observe a noticeable difference in system performance in a positive way, especially if you use low-quality equipment. Keep in mind, ReadyBoost does not work with SSDs, as they are faster than regular USB drives.
Method 3. Disable Live Tiles
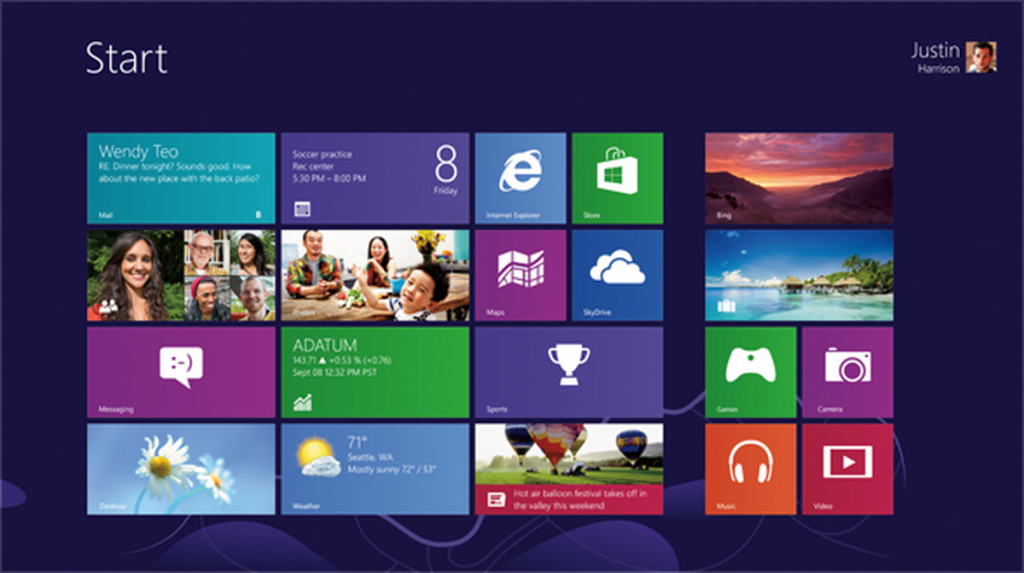
For the first time, Live Tiles was launched in Windows 8. This function in the Start menu or on the start screen provides the user with information about a particular application either from the Internet or from a local network. Unfortunately, it, like any other background service, consumes computer resources, slowing down its work, and drains the battery.
Let’s see how to disable Live Tiles in Windows 10 to increase system performance.
If you are using Windows 10 Pro, you can use the Group Policy Editor. In the editor, go to User Configuration> Administrative Templates> Start Menu and Taskbar> Turn off tile notifications .
Article source
Otherwise, you will have to disable tiles for each application manually. Go to the Start menu> right-click on the animated tile of the docked application> Advanced> Disable live tiles .
Method 4. Use High Performance Mode to Improve PC Performance
High performance mode in power modes allows you to use your computer as efficiently as possible. In this state, the processor can use its full potential.
Do not forget to connect the charger when performing a resource of costly tasks.
Have you ever wondered why experienced users prefer desktop computers to laptops? One of the reasons is that they have a constant power supply that significantly improves productivity. In the case of a laptop, we recommend connecting the charger when you are running games or using “heavy” software, which consumes a lot of resources.
Method 5. Use the built-in troubleshooting tool.
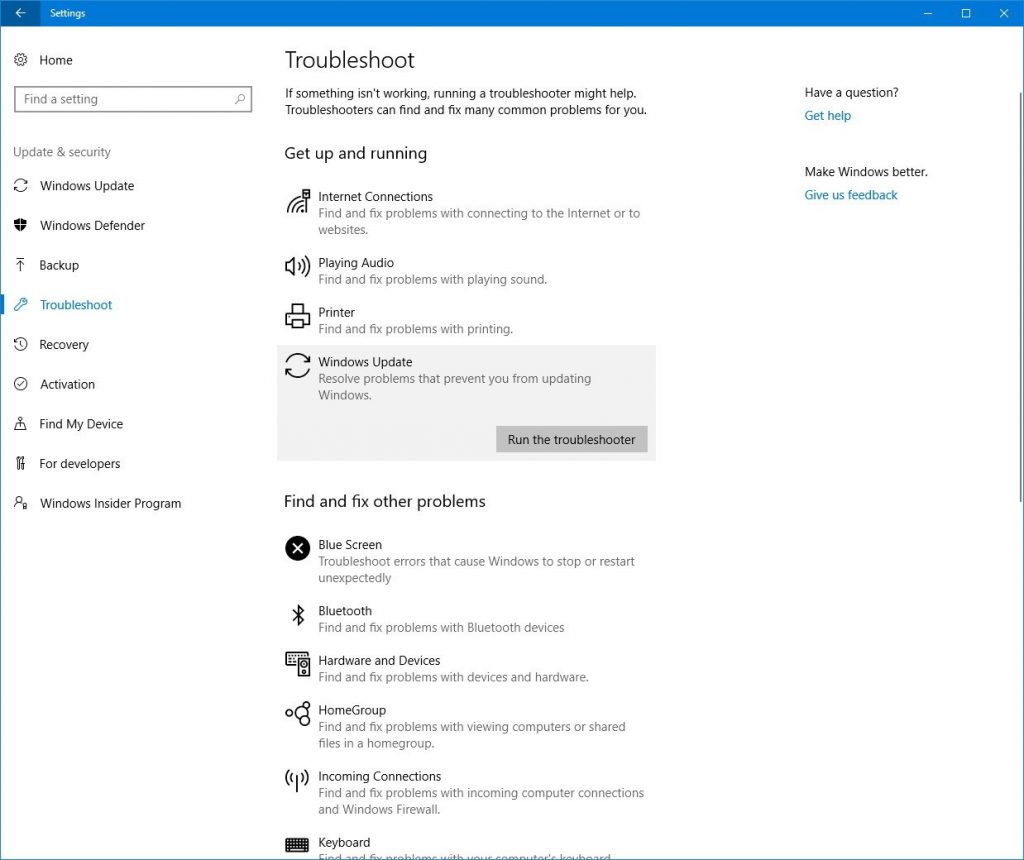
With the release of an update for Developers, Microsoft has provided users with a section for various Windows troubleshooting utilities. Visit Settings> Update & Security> Troubleshooting .
Here you will find options for fixing errors related to Bluetooth, BSOD, audio, Windows Updates, keyboard and many other system equipment. Resolving possible problems can lead to the fact that your PC with Windows 10 will work faster and without errors.
Method 6: Improving Application Performance on Windows 10
If you use the April update, Windows 10 now has a new settings page that allows you to customize advanced graphics settings for individual applications (both UWP and classic). This can be convenient if you are faced with performance issues of a particular application and blame the computer, which is not to blame for this at all.
Go to Settings> System> Display . Scroll down and select Graphics Settings . On the next screen, select the classic or UWP application that you want to configure and click Add .
Now click on the application name and click Options. Here you can choose between various graphic features, such as Default, Energy Saving, and High Performance. High-performance customization allows the application to use a discrete graphics processor system.
Method 7. Free up space on the system drive
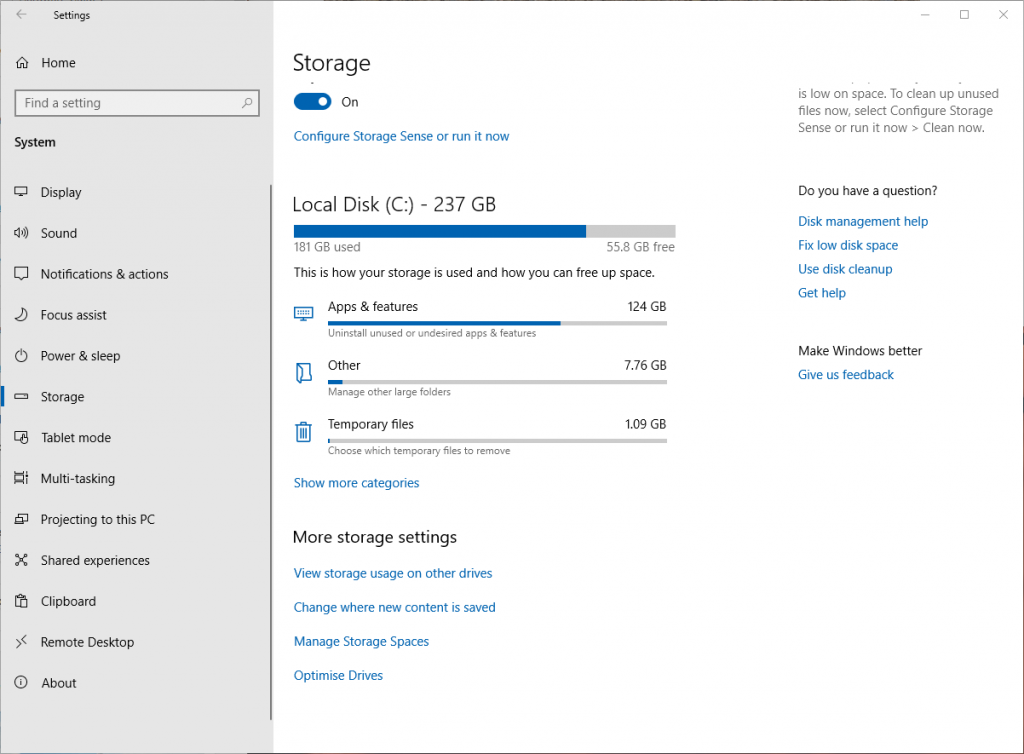
The computer may run slowly due to the banal lack of physical memory on the hard drive. Check that there is enough free space on the system drive for the operating system to function properly. The free space should be at least 10% of the total disk “C”.
Free up space on the system working disk and clean the desktop of unnecessary items. Also, in case of a lack of space, it will be much more useful to reassign the storage location of user documents to another logical partition. This will significantly offload the system drive.
You can move the following user system folders:
- Downloads
- Documentation
- Images
- Video
- Music
For best tips click here
 Bloggers Trend Keeping You Up To Date


